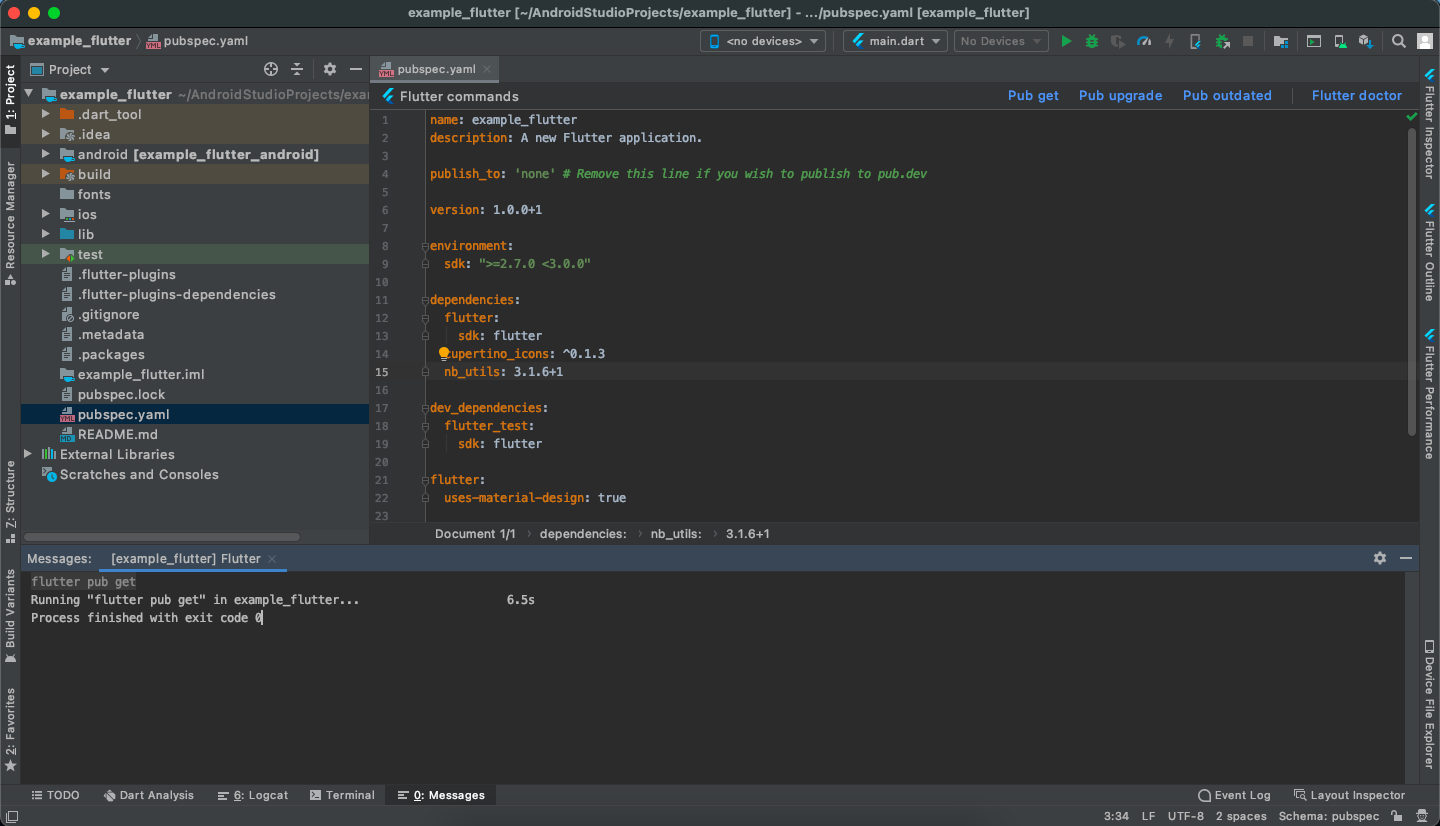
Mighty Food project structure and short description for each of them is as follow:
- images: images as well as appIcon are stored here.
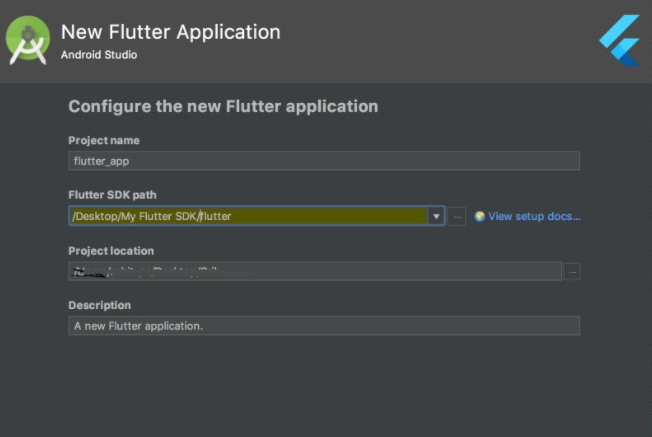
- lib: Application main file and folder are located here.
- component: All the Widgets except for screen will be declared here.
- models: A base class that holds some data and allows other classes to listen to changes to that data.
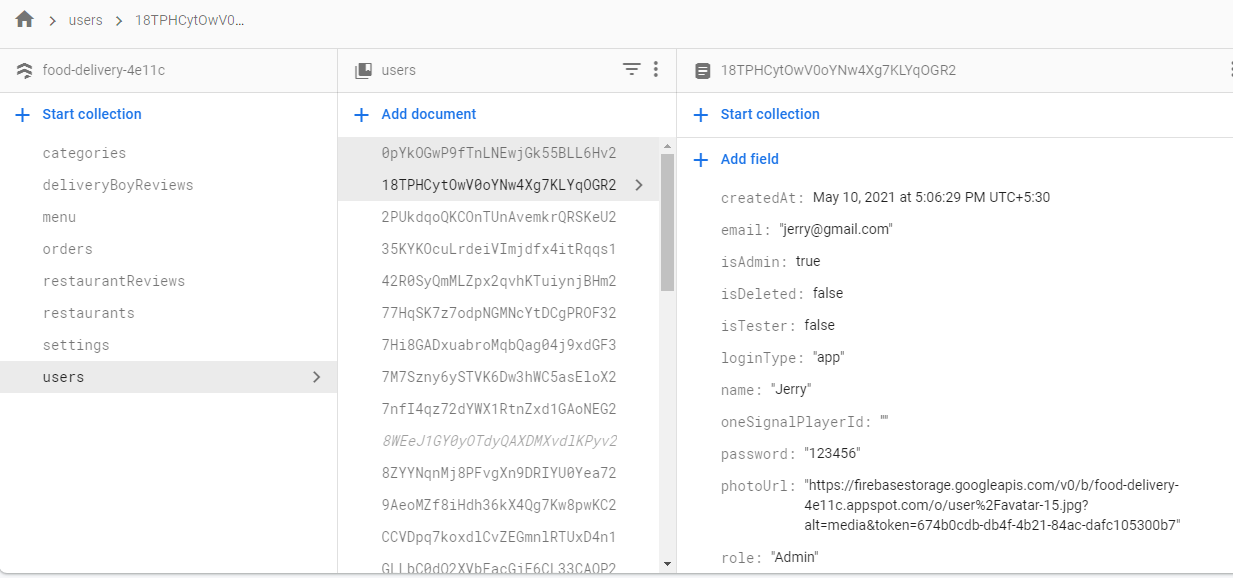
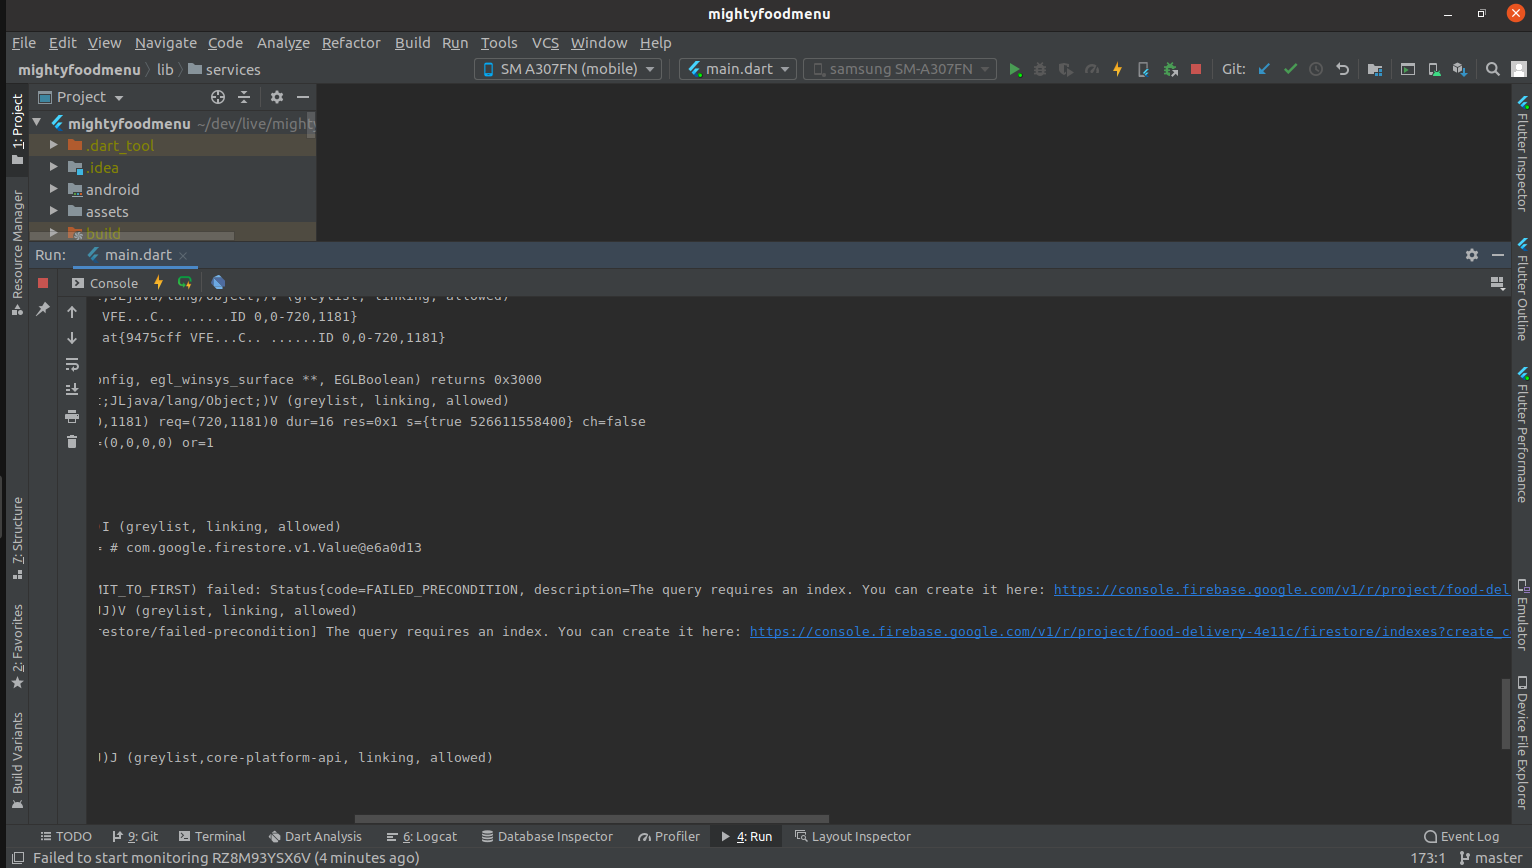
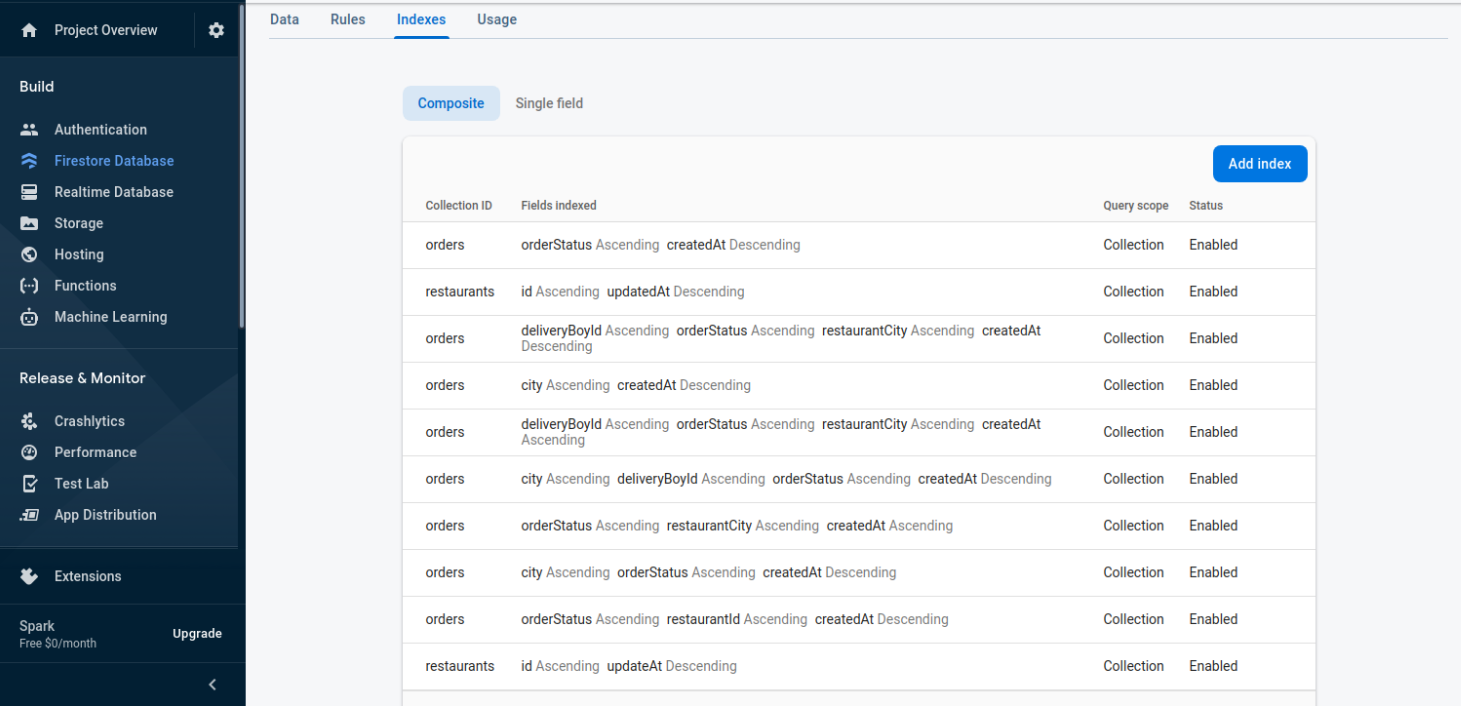
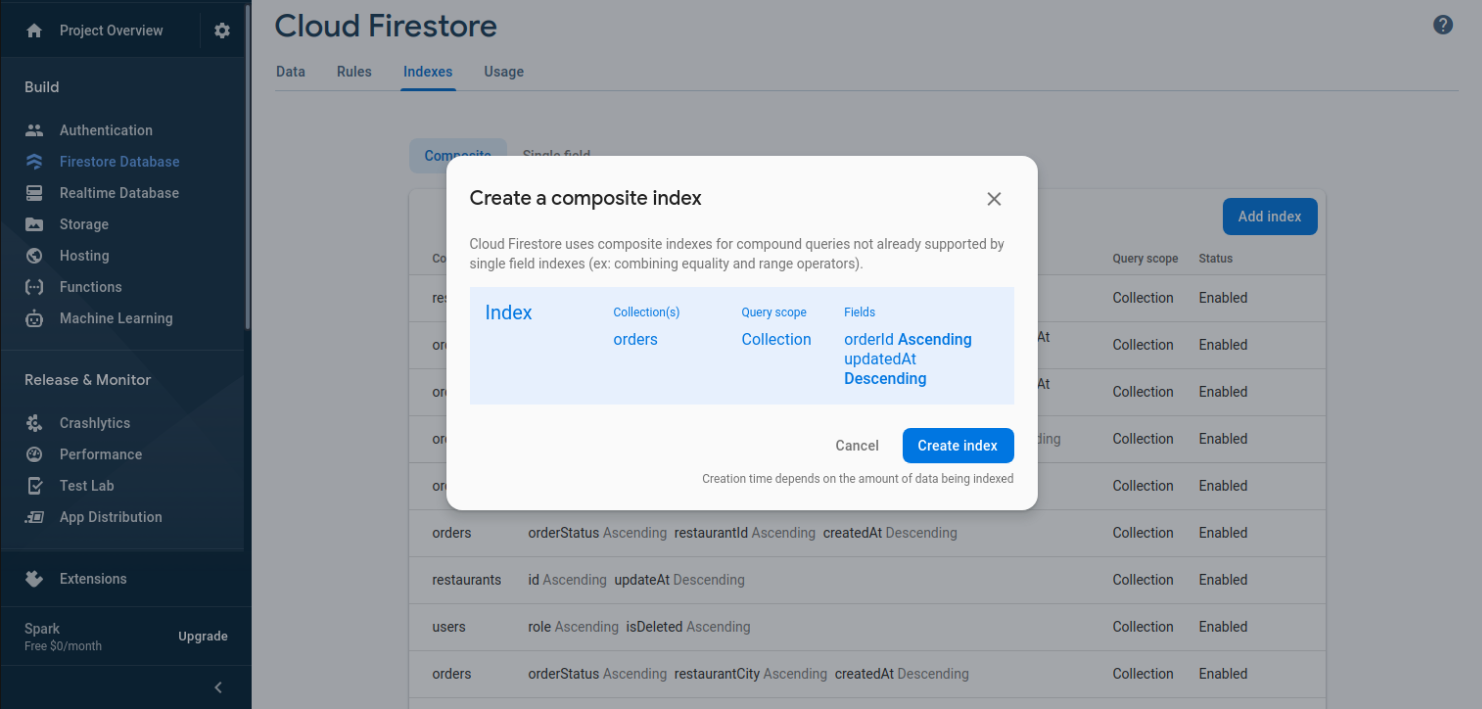
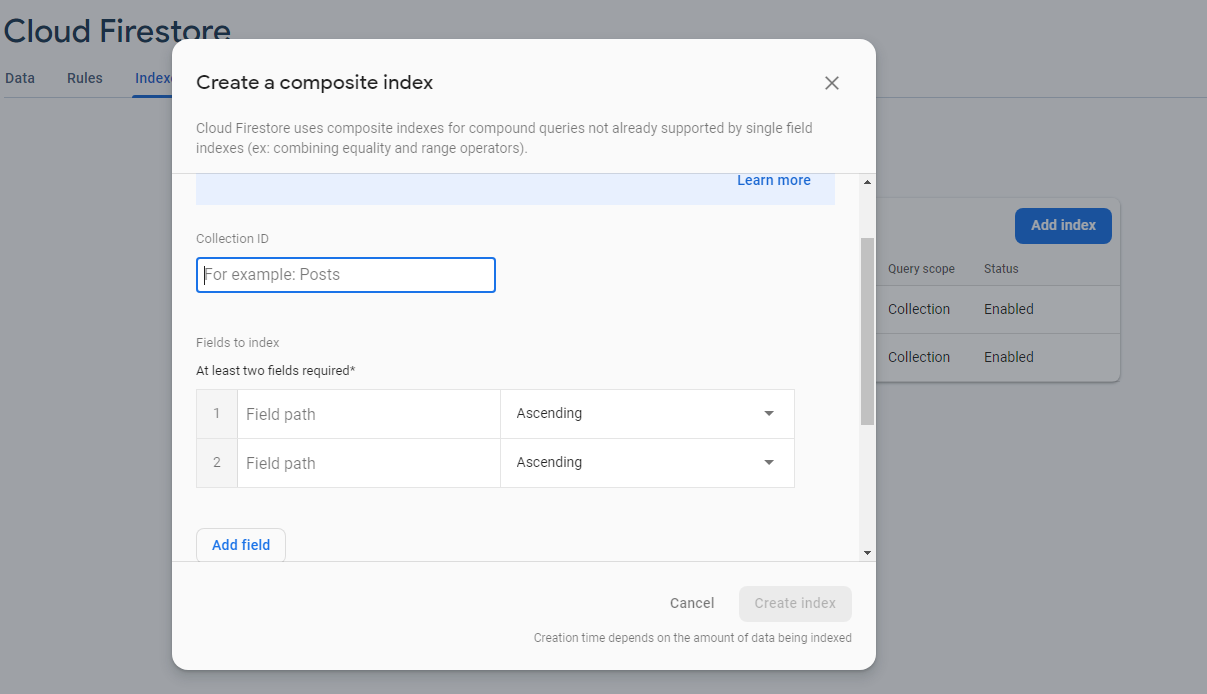
- services: All Firebase services are located here.
- screens: FileName contents Screen at the end of name eg. DashboardScreen.
- store: It is used for State management technique MOBX.
-
utils: Basic ready made widgets are located here.
- Colors.dart: Application colors are declared here.
- Common.dart: Commmon functions are declared here.
- Constant.dart: All the constant values are declared here.
- pubspec.yaml: Application name and other project dependencies can be found here.
- Check the full flow diagram of Mighty Food App
Application Features
Features Mighty User
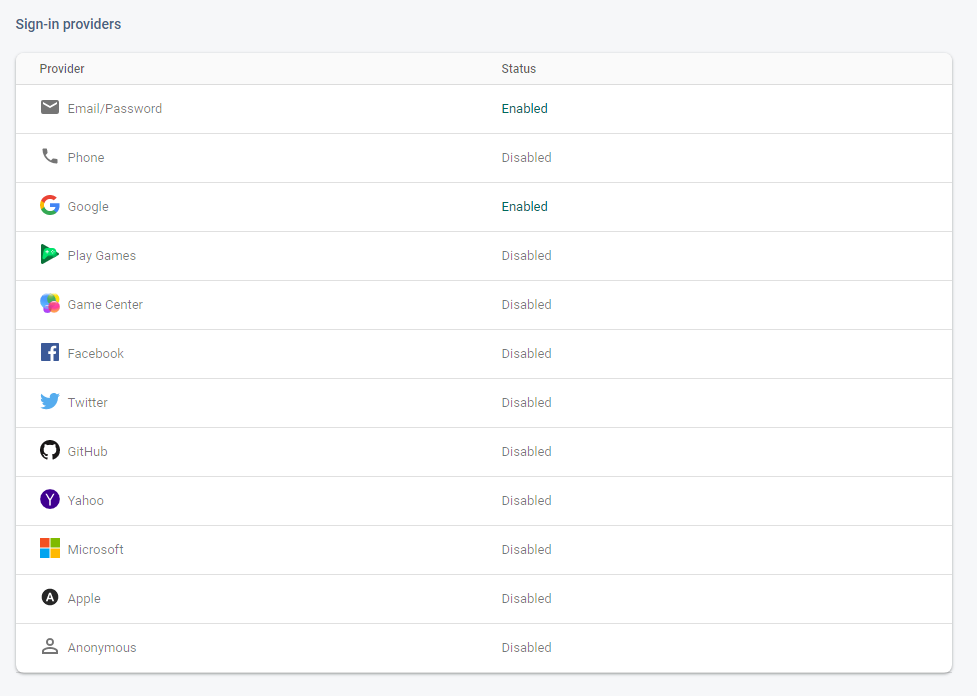
- SignIn with Google / Email & password
- Dark & light mode
- Favorite Restaurant
- Order Place
- Track Order
- Multiple Address selection
- Add to cart
- Implemented OTP login
- Review
- Show delivery Charges
Features Mighty Restaurant Manager
- SignIn with Email/password
- manage all orders
- Favorite Restaurant
- manage restaurant's menu items
- add/update own restaurant's details
- Added restaurant summary with graph view
- Added delivery Charges
Features Mighty Admin
- Email & password
- Manage all restaurant
- manage all users
- Manage all food category
- Manage all menu item
- Manage all Order With all status
- Added delivery Charges
- Added Multiple Language Support functionality with RTL Support
Features Mighty Delivery Boy
- SignIn with Google / Email & password
- Dark & light mode
- Track Order
- Assign Order
- Review
- History Order
- Ability to update current city
- Added Multiple Language Support functionality with RTL Support
- Added- Forgot password functionality
- Show delivery Boy Income
- Show delivery Charges